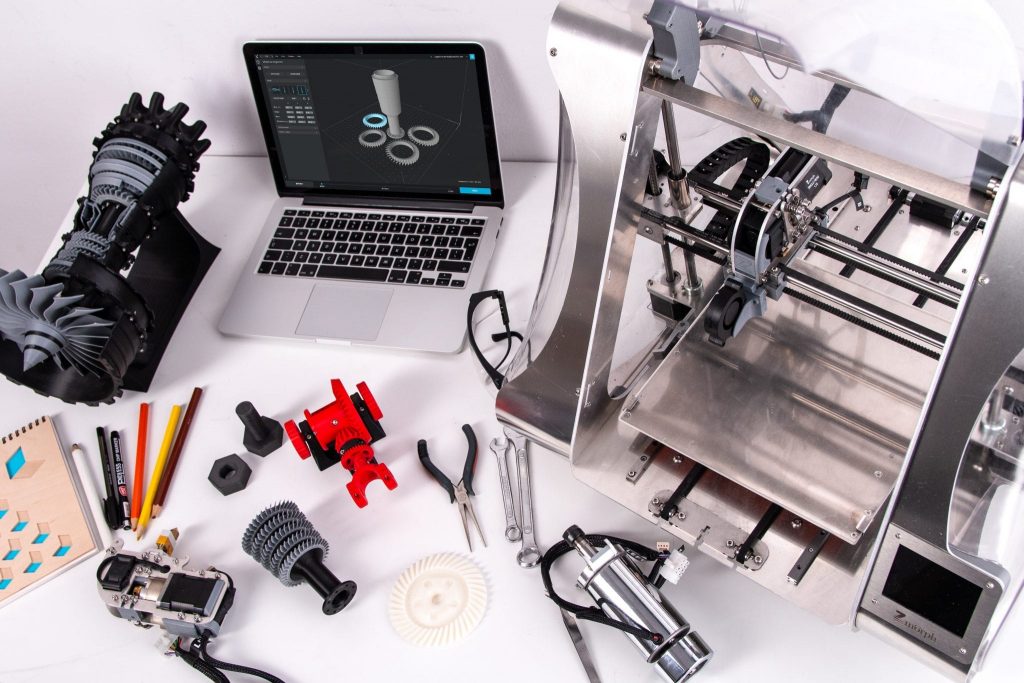
3D scanning technology is the application of scientific knowledge to analyze an object (or space), by collecting data about its shape and, sometimes, its appearance (color, structure), to design a 3D digital model.
Three-dimensional scanning can be either monochrome or with the transfer of color and texture. The 3D scanner is used to perform this type of analysis. Where is this technology applied? The 3D scanning service is in demand in many areas of modern production.
With its help, you can quickly and easily solve even the most complex problems:
- Reverse engineering – examines a part or product for errors, compares the manufactured object with a CAD drawing, allows you to obtain drawing documentation of the part.
- Design of products, spare parts, and accessories in the absence of original technical documentation for the basic product.
- 3D-digitization of complex surfaces, including art forms and casts.
- 3D scanning of complex products, including art forms and casts.
- Creation of a 3D model of an object for further manufacturing on a CNC machine.
- Creation of a 3D model of a person or parts of his body for medical and other purposes.
- 3D printing or replication of the object.
The ideal system for introducing 3D metrology: thanks to the modular structure and the use of monochrome or color cameras of different resolutions, the smart scan 3D series scanners are perfectly adapted to meet the specific requirements of your projects.
Quality control – to analyze the quality of parts manufacturing in conjunction with a 3D scanner, various specialized software is used: Rapidform XOV, OPTOCAT, Geomagic Qualify, PolyWorks Inspector.
The main tasks of the scanner:
- Comparison of the scan with a 3D CAD-model (design documentation).
- Creation of sections and comparison with the data of 2D drawings.
- Measurement of the product according to the received 3D model.
- Evaluation of errors in shape and location (flatness, parallelism, concentricity, etc.).
- Comparison of 2 or more scans with each other, for example, comparison with a scan of a reference product.
- Compact design and lightweight.
Benefits:
- Whole scan. Allows you to scan the entire surface of the product as a whole, and not just individual points, giving surfaces with precise features.
- Contactless scanning process.
- Complete measurement. The installation allows us to measure completely all geometry at high speed, even complex surfaces can be scanned without any additional processing, such as applying anti-reflective spray or matte coating.
Picture Credit: Unsplash
